 |
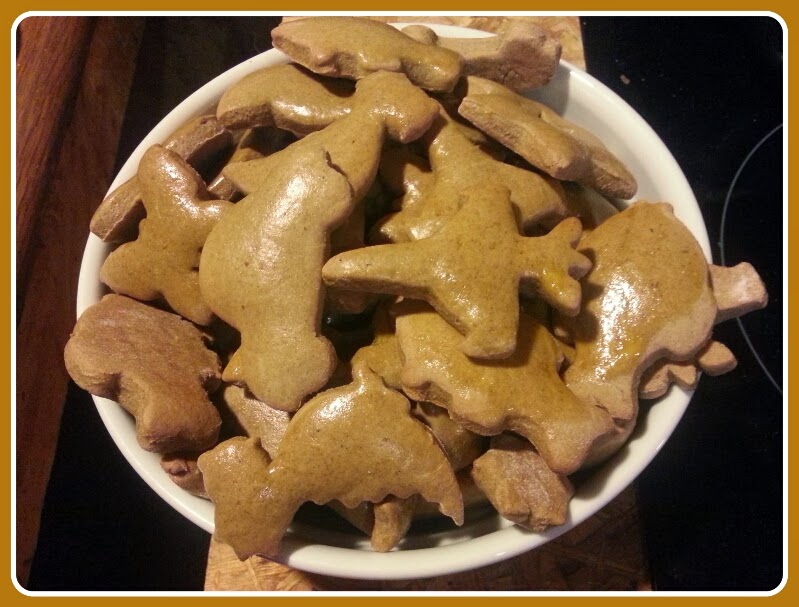
| Shiny super soft dragons and F-14s. You can tell I have twoo girls, can´t you?:-)) |
All is quiet, it was just a dream. Let´s get started...
I make these because I don´t like the traditional gingerbread cookies that many people make. They are usually hard as stone and I don´t have the skill to organize my time to make them a month or so before Christmas to allow them to get softer.
So I searched an easy alternative, something I could make with the kids, and here it is!
The original recipe can be found on many Czech cooking websites, so I don´t really know whom to thank. And I changed it anyways, as usually:-)
Normally you would need:
400g of flour (superfine or cake flour or whatever it is called over the ocean:-)
140g powdered sugar (I make my own sometimes)
50g butter (half a stick is fine, but for the rest of the ingredients - good luck with the conversions:-)
2 eggs (I use large or 3 small)
2 tablespoons of honey
1 teaspoon of baking soda (too much for my liking)
1 teaspoon of spice (we get gingerbread mix here, but you can use your own with cinnamon, badyan, cloves and stuff)
1 egg yolk for right-after-baking brush (they get nice and shiny after that)
I suggest:
less sugar - more honey (if the dough gets sticky, just add a teensy bit more flour)
a bit more butter (10g-20g for pliability:-)
less soda (they are poofy enough with half a teaspoon)
for The Brush (I have no idea if this term is real but I like it and WILL use it:-) any part of egg will do, even whole egg. And adding a bit of water makes it easier to apply. Just as long as it is at least a bit slimey from the egg.
I mix all the dry ingredients and add the rest. Use my hands to get the butter soft and mix it and squeeze it all together until I get a lovely ball of dough which almost doesn´t stick but is still soft and pliable. Knead it for a little while, cover with foil or put in a plastic bag and stick it in the fridge for at least 30 minutes. Overnight is OK. I actually have one still in the fridge from a few days ago. I guess it is still fine, too:-)
When you are ready to baky (and to clean the mess your kids make while helping), take it out of the fridge, let is sit or just knead it soft with your strong hands (letting it sit for a while makes it way easier to do this). And you are ready to roll! Literally.
If your cookies are about 3-4 mm high (or thick?:-), bake them 8 minutes at about 160°C (math again if you´re from the States:-). Thinner cookies need shorter time, chunkier ones a bit longer, but do time it. It is vital to stick to the right timing here so that they remain soft (I mostly ignore precise measurements and times in recipes and use what I have and what I know to make stuff, but this is SERIOUS:-)
Once they are ready to get out of the oven, have your Brush mixture ready and spread it on each and every one (evenly, if you can) to make them glisten and sparkle and show off your baking might when you present then to admiring fans later on.
To make them really traditional, you might want to beat egg whites with some powdered sugar and a few drops of lemon juice into oblivion (meaning about 15 minutes of whisking) and create frosting. This type of frosting needs to be applied in thin lines, preferably neat and symetrical, we used to do it using a plastic bag with a cut corner. That was B.C. (Before Children:-)
There are some other people´s designs that I like here
Good luck!